How to Arrange Flowers: A 7-Step Method for a Better Vase
A beginner-friendly method for turning loose flowers or a hand-tied bouquet into a balanced vase arrangement that looks intentional.
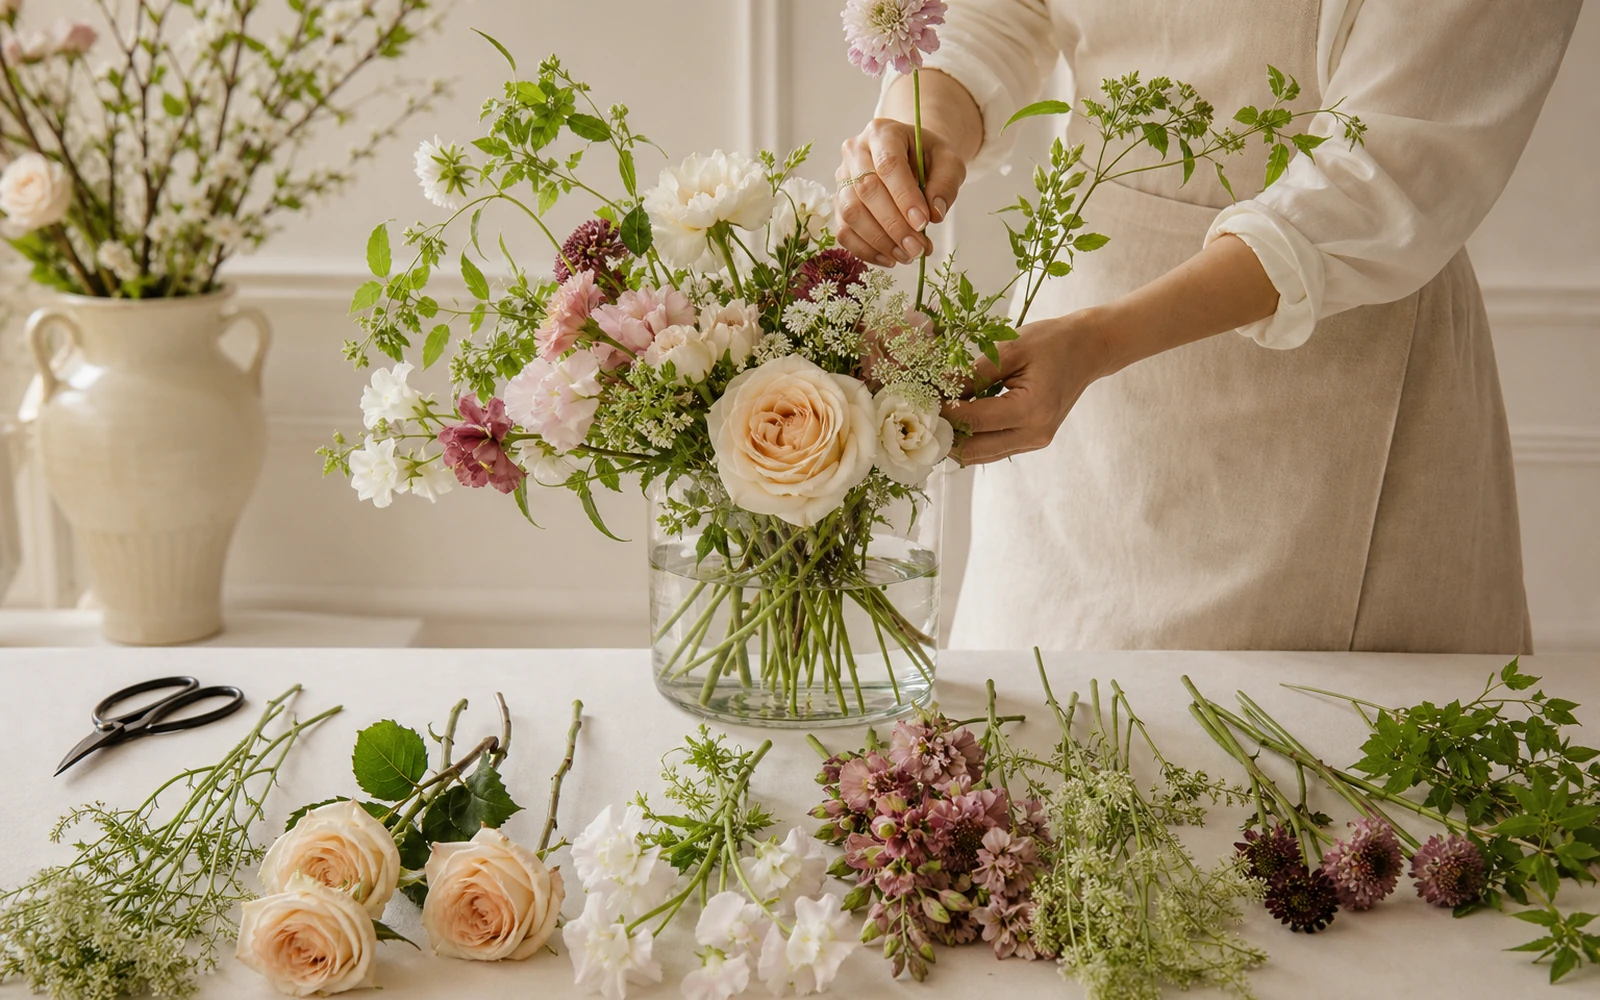
To arrange flowers in a vase, make seven decisions in order: choose the vase and viewing direction, prepare the stems, set the proportion, build a framework, place the focal flowers, add supporting flowers with space between them, then rotate and correct the finished design. That sequence gives a beginner control over balance, shape, and depth without turning every stem into a geometry problem.
If you started with a wrapped bouquet, give it a shape that belongs to your vase and the room around it rather than trying to reproduce the florist’s exact hand-tied outline. If you would rather begin with a composition selected by a florist, explore current Rosa Fiora bouquets; for loose stems or a bouquet ready for a new vessel, follow the method below from start to finish.
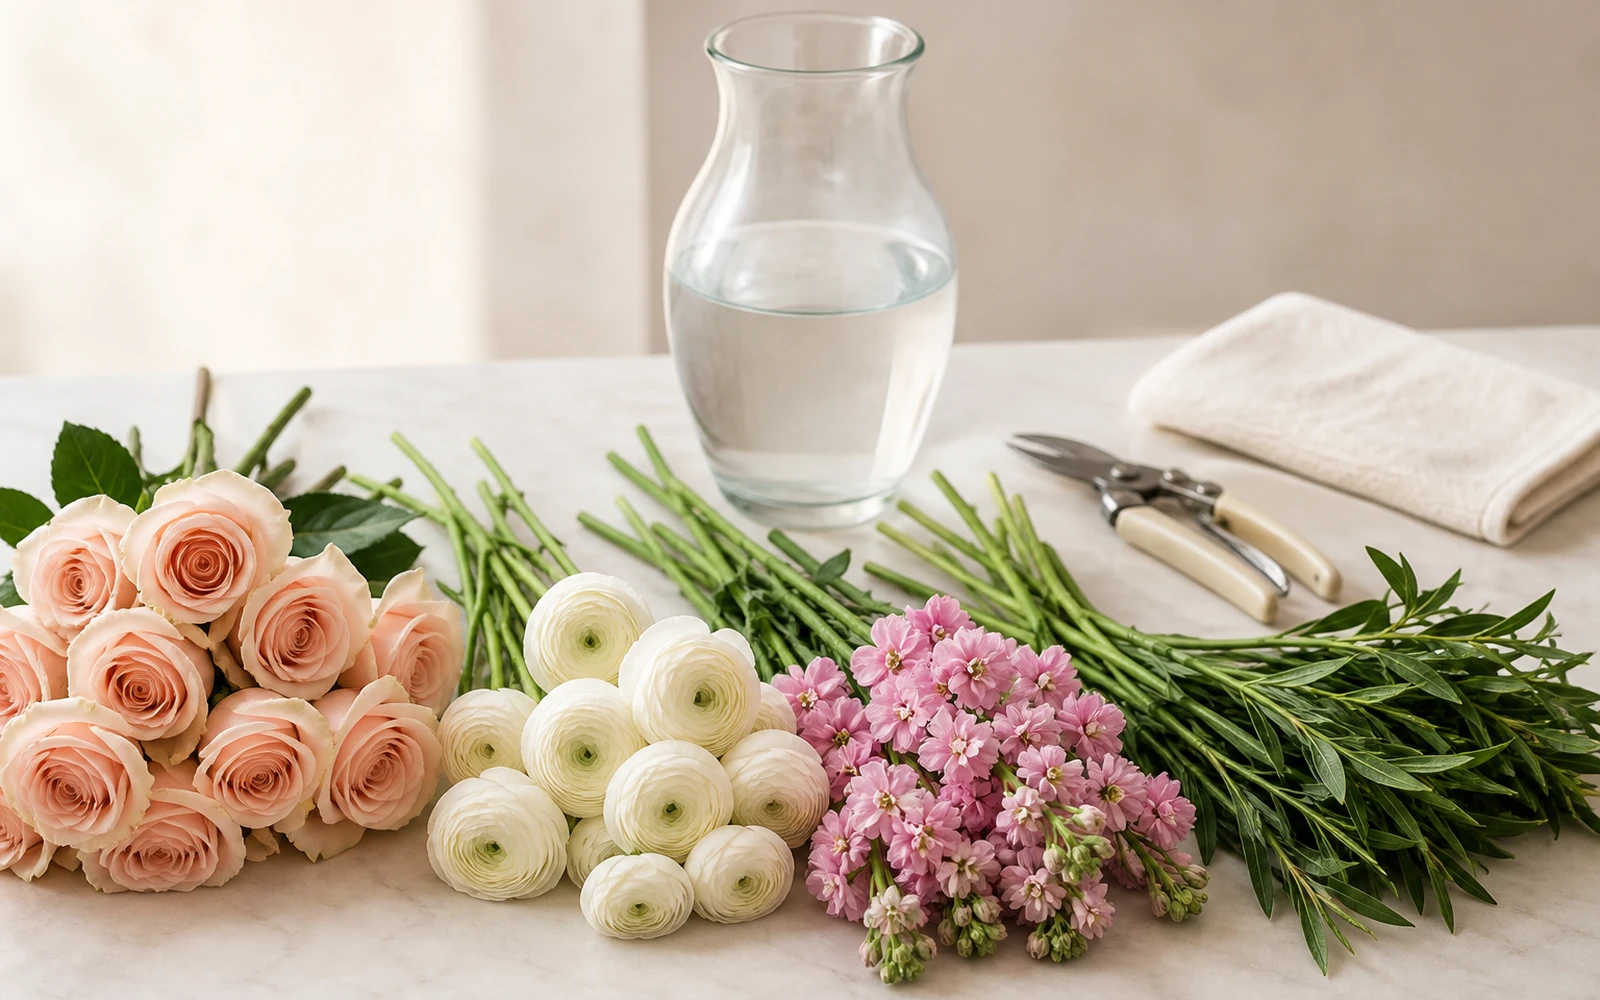
Keep a clean vase, fresh water, a towel, and clean, sharp floral snips or pruners beside you. Work on a stable, dry surface. Keep your fingers clear of the blades and cut away from your body.
Step 1: Choose the vase and decide where the front will be
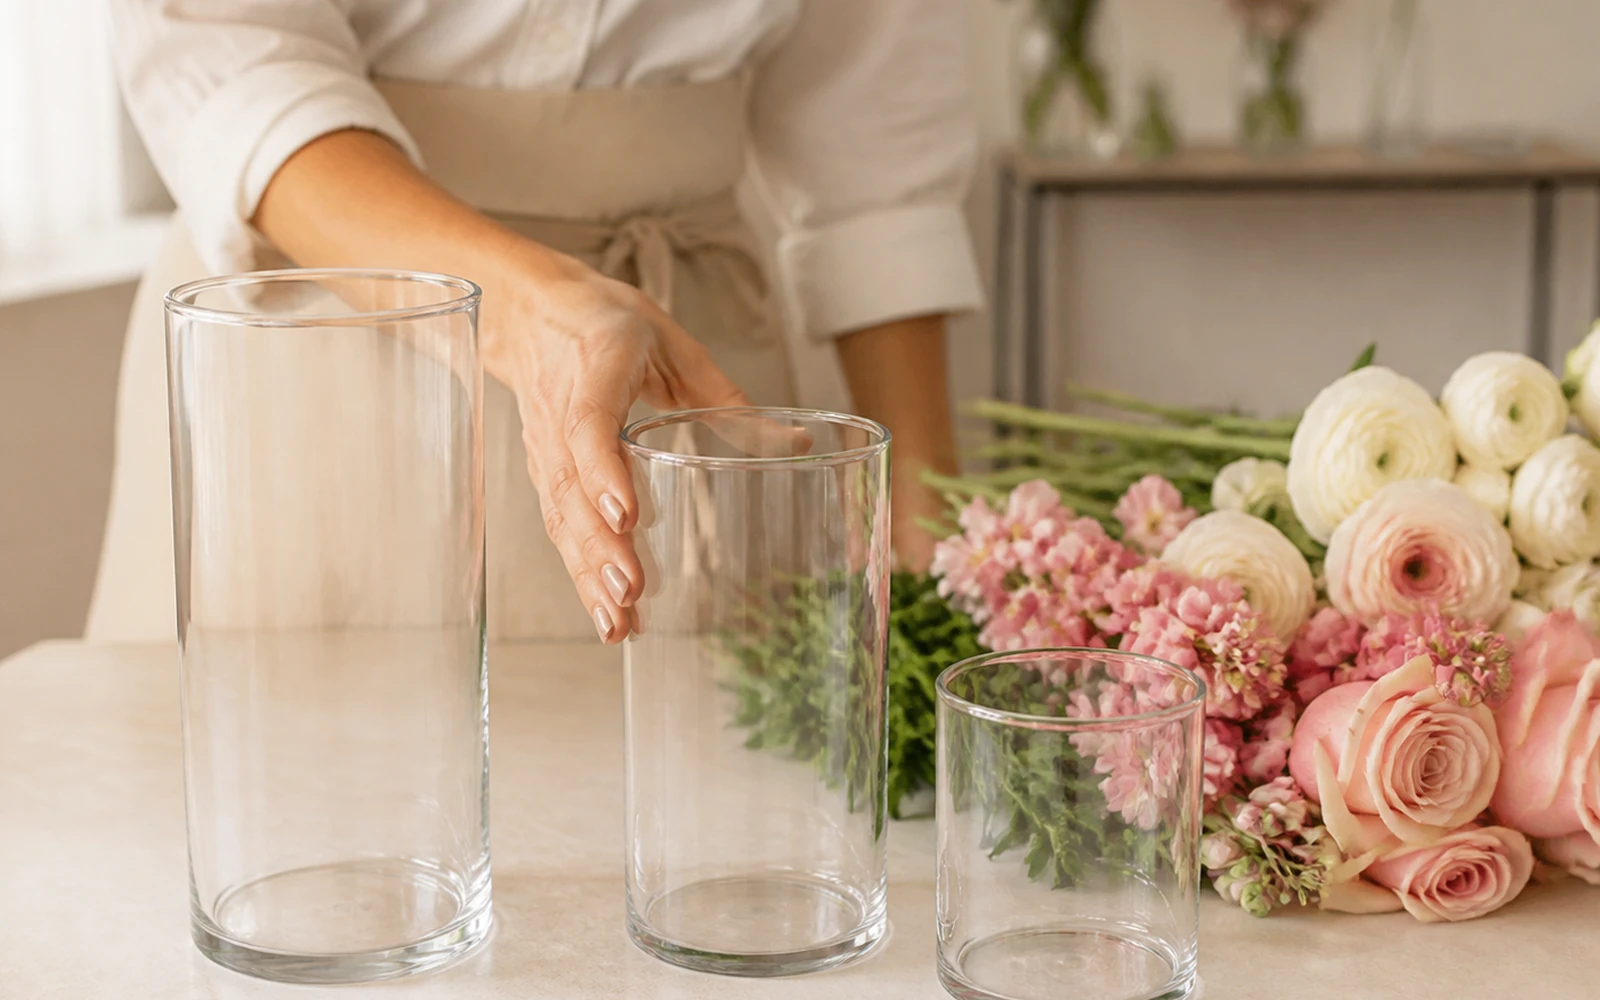
Before cutting a stem, put the empty vase where the finished arrangement will live. A dining table asks for a design that looks considered from several seats and stays below important sightlines. A console or shelf can support a stronger front because people usually see it from one direction. A narrow bedside table needs a smaller footprint than a kitchen island.
Now look at the vase opening. A narrow neck gathers stems and encourages an upright shape. A wide mouth gives flowers freedom to spread, but it also asks you to create more structure. A tall vase can support long lines; a low vessel makes width and outward movement more important.
I choose the vessel by the room first and the flower quantity second. A small handful can disappear in a wide urn, while a generous bouquet can look pinched in a narrow cylinder. The right vase gives the flowers room to open without making the arrangement feel detached from its base.
Step 2: Prepare the vase, water, tools, and stems
Clean the vase, add fresh water, and unwrap the flowers fully. Remove leaves that would sit below the waterline. Submerged foliage clouds the water and works against the clean start you want.
Sort the stems loosely by role rather than by flower name:
- line stems create height, width, or a directional edge;
- focal flowers carry the strongest visual weight through size, shape, or color;
- supporting flowers connect the focal area to the outer silhouette;
- lighter details or foliage soften transitions and give the eye places to travel.
One flower can perform different roles. A rose may be the focal point in a small arrangement and a supporting flower beside a broad hydrangea. The role comes from what the stem does in this vase.
Make fresh cuts with clean, sharp floral snips or pruners suited to the stems, then place each cut stem into water promptly. For the fuller care routine—water changes, placement, and the mistakes that shorten vase life—use our guide to keeping flowers fresh longer. Here, stay focused on structure.
Step 3: Set the proportion with a few guide stems
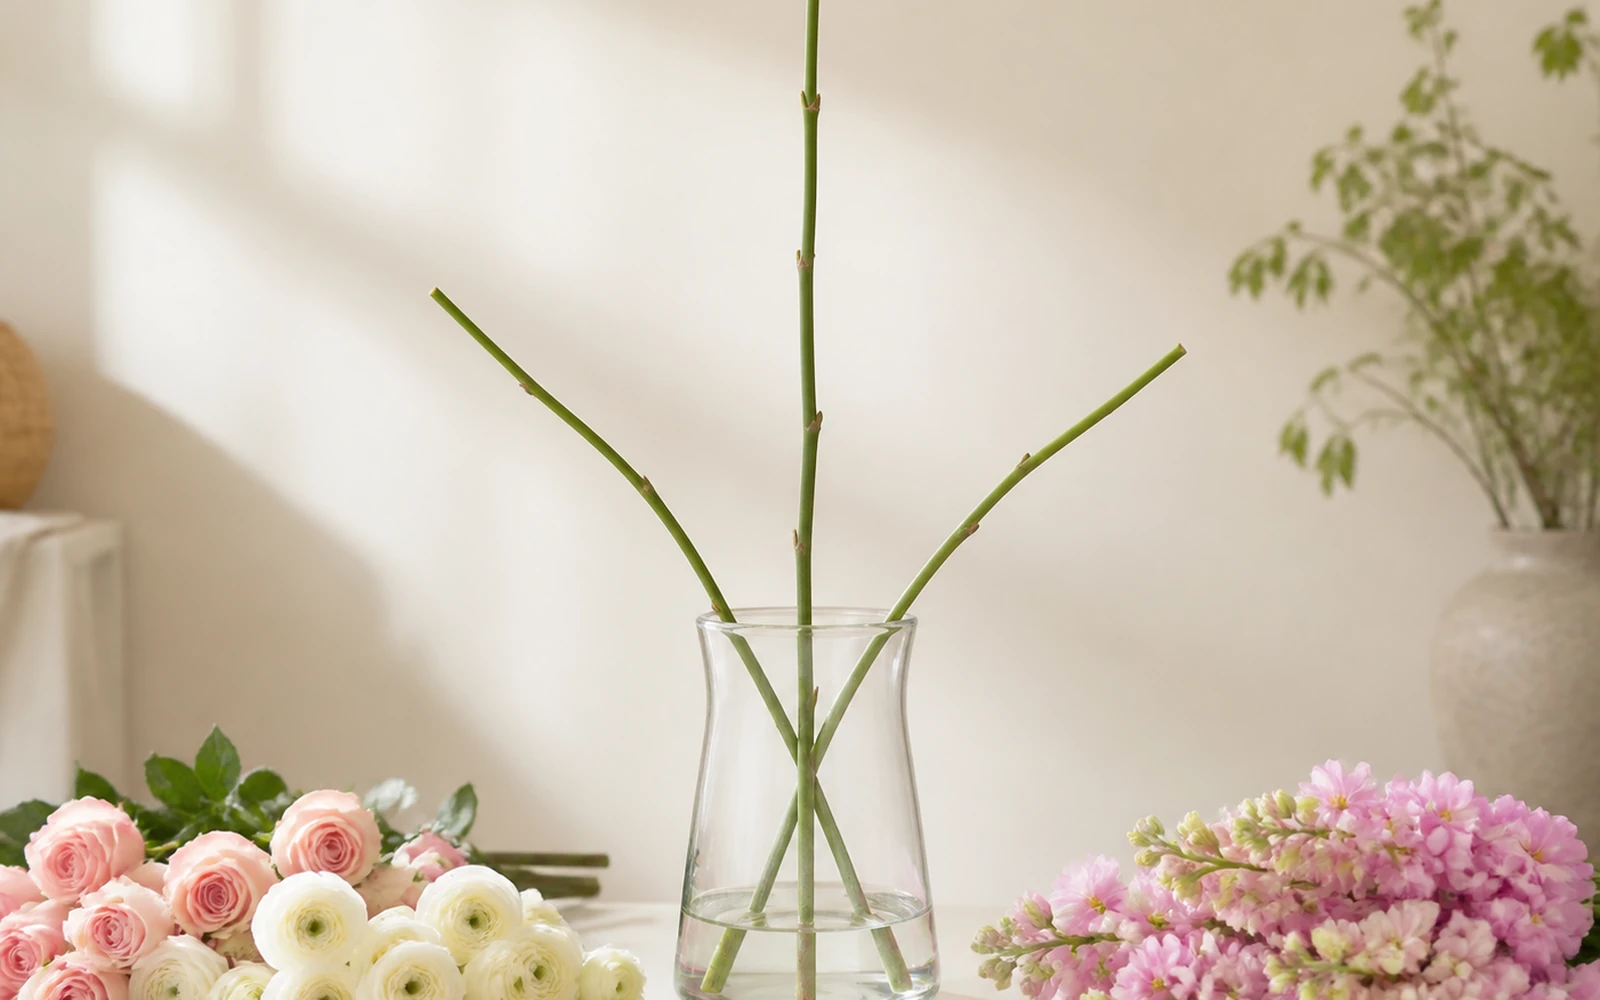
Choose three or four stems to establish the highest point, widest reach, and front edge. These guide stems draw an invisible envelope around the arrangement. Everything added later will either support that envelope or change it deliberately.
Skip the temptation to follow one rigid vase-to-flower ratio. A compact rose dome, an airy delphinium arrangement, and a low garden bowl need different proportions. Instead, look for visual conversation between vase and flowers:
- the vase should appear capable of supporting the volume above it;
- the tallest line should feel connected to the central flower mass;
- the width should suit the surface where the arrangement will sit;
- the lowest flowers should soften the transition into the vessel.
Cut conservatively at first. Leave extra length until you see the stem in the vase, then shorten it in small increments. Place each guide stem, step back, and check the silhouette against the actual wall, window, or room behind it.
Step 4: Build a loose framework
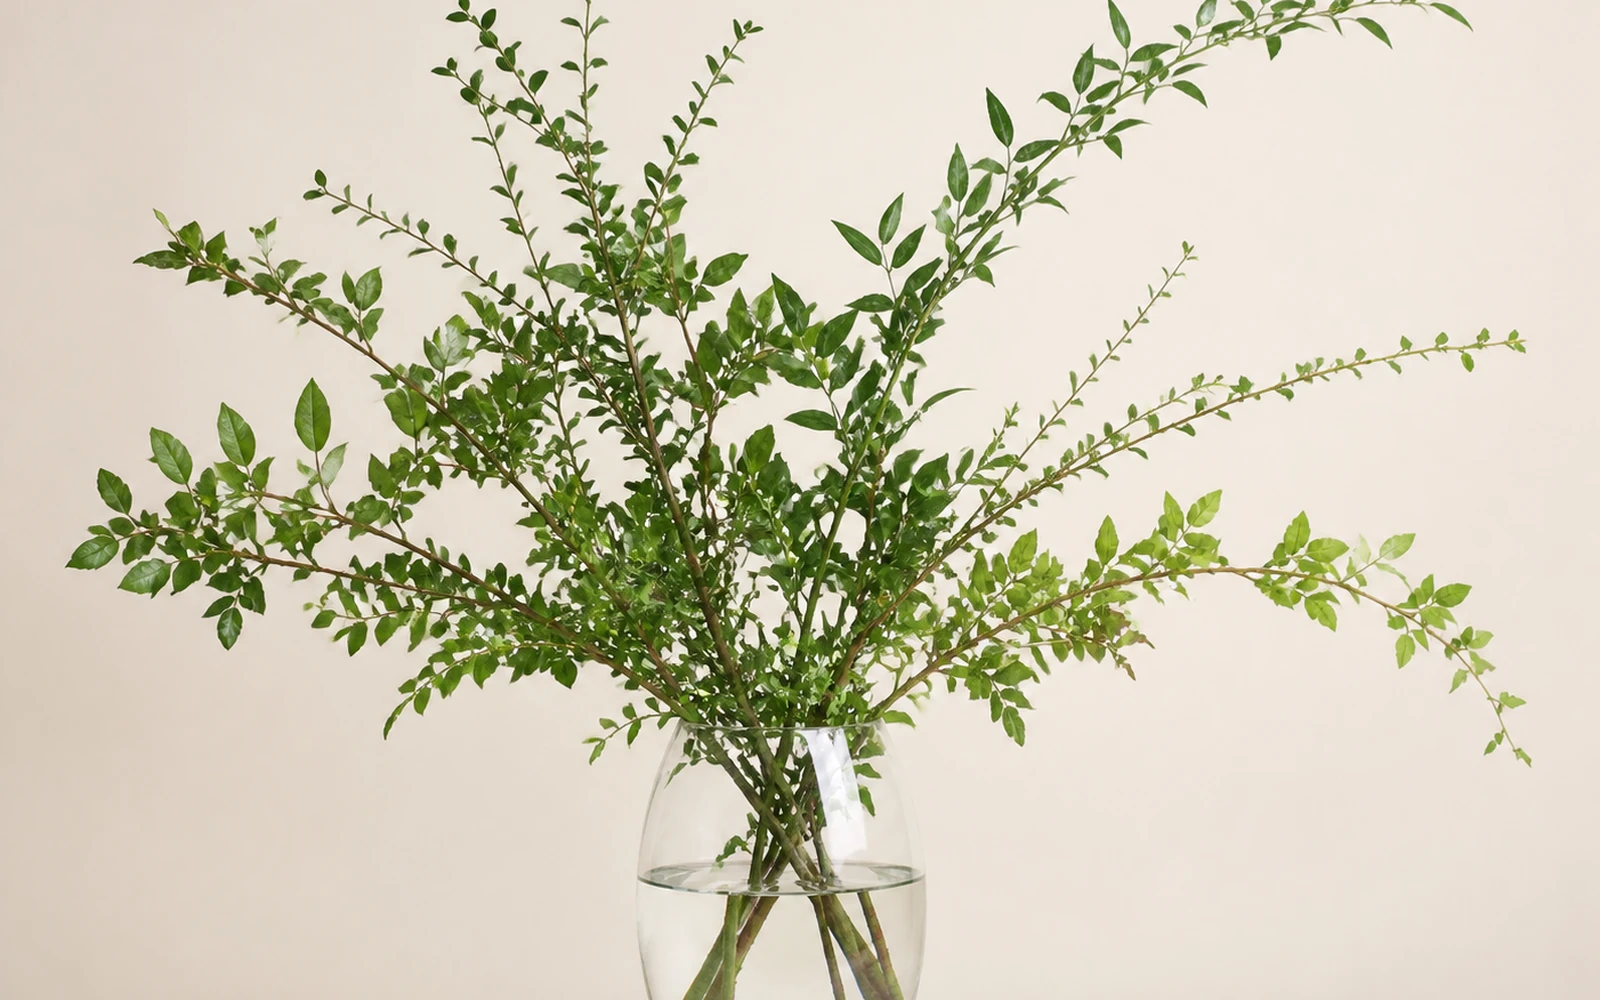
Use line stems, foliage, or smaller flowers to create a framework through the vase. Angle some stems left and right. Let others travel slightly forward or back. Their crossing paths provide gentle support and keep the design from becoming a bundle of parallel sticks.
A framework is visual before it is mechanical. You are deciding where the eye will move and where the flower heads can rest. In a round arrangement, the lines may radiate from the center. In an asymmetrical design, one side can reach higher while the other carries a lower, fuller counterweight.
The Iowa State University Extension guide to floral arranging identifies balance, proportion, dominance, rhythm, and space among the principles that shape a design. You can see those ideas now: the framework sets proportion, repeats a direction, and reserves room for a focal area.
Leave openings. A framework that feels slightly unfinished is useful; it gives the focal flowers somewhere to arrive.
Step 5: Place the focal flowers
Choose the flowers with the greatest visual weight. That may mean the broadest heads, the deepest color, the most intricate petal form, or simply the bloom you want people to notice first.
Place the first focal flower slightly off center and below the highest guide stem. Add another nearby at a different depth or angle, then decide whether the arrangement needs a quieter echo on the opposite side. Avoid lining every focal bloom at the same height. A flat row makes individual flowers compete; staggered depth creates one connected area of attention.
Turn the vase a quarter turn. From the side, check whether all the important faces lean forward while the back feels empty. For an all-around arrangement, distribute visual weight across the full circle. For a front-facing design, keep the strongest concentration toward the intended view while giving the side edges a finished transition.
The focal structure is successful when your eye knows where to begin and still has a path through the rest of the flowers.
Step 6: Add supporting flowers and preserve breathing room
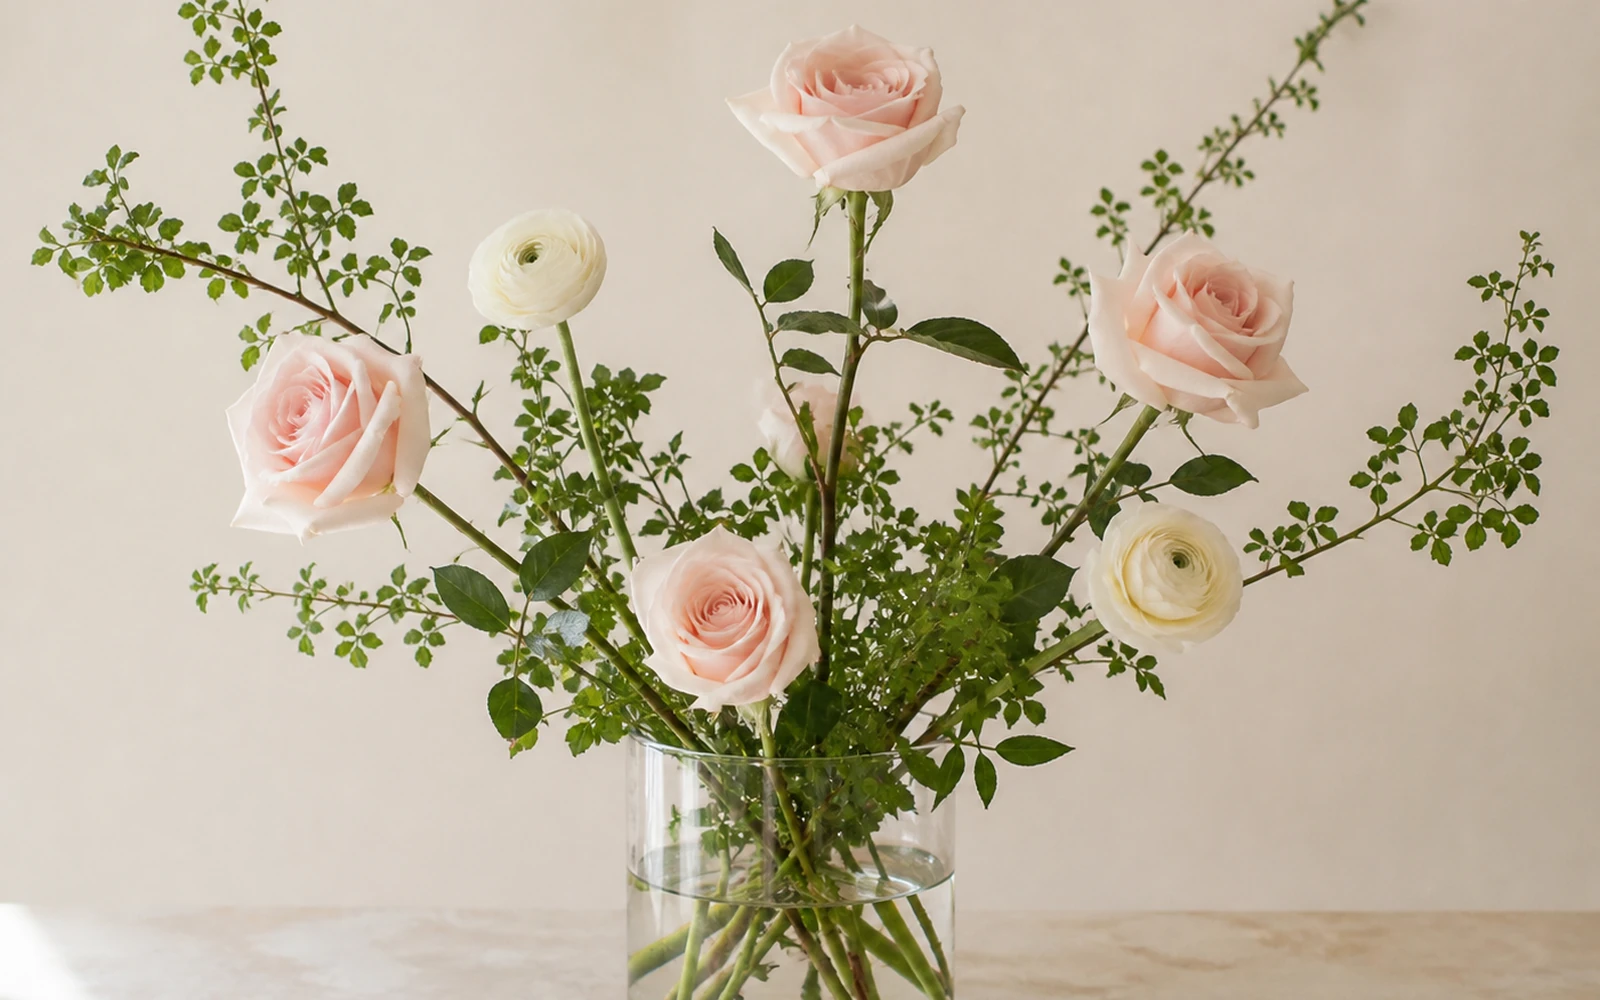
Supporting flowers connect the bold moments. Place them between the focal area and the outer framework, changing height, angle, and depth as you go. Let a smaller bloom sit deeper in the arrangement; bring another slightly forward. Repeat a color in two or three places so the eye moves rather than stops.
This is where beginners often keep adding until the arrangement becomes one dense surface. Pause before every stem and ask what job it will perform:
- connect two separate color areas;
- soften an edge;
- add height or width;
- cover exposed inner stems;
- repeat a useful line;
- fill a gap that distracts the eye.
A calm opening between flowers can be as important as another bloom. Space reveals the shape of a ranunculus, the curve of a tulip, or the fine branching around a rose. If every petal touches, those differences disappear.
For a deeper comparison of wrapped, vase, basket, round, and other presentations, see flower gift formats and how they change the handoff. In your own vase, the same principle applies: format changes what the flowers need from you.
Step 7: Rotate, correct, and place the arrangement
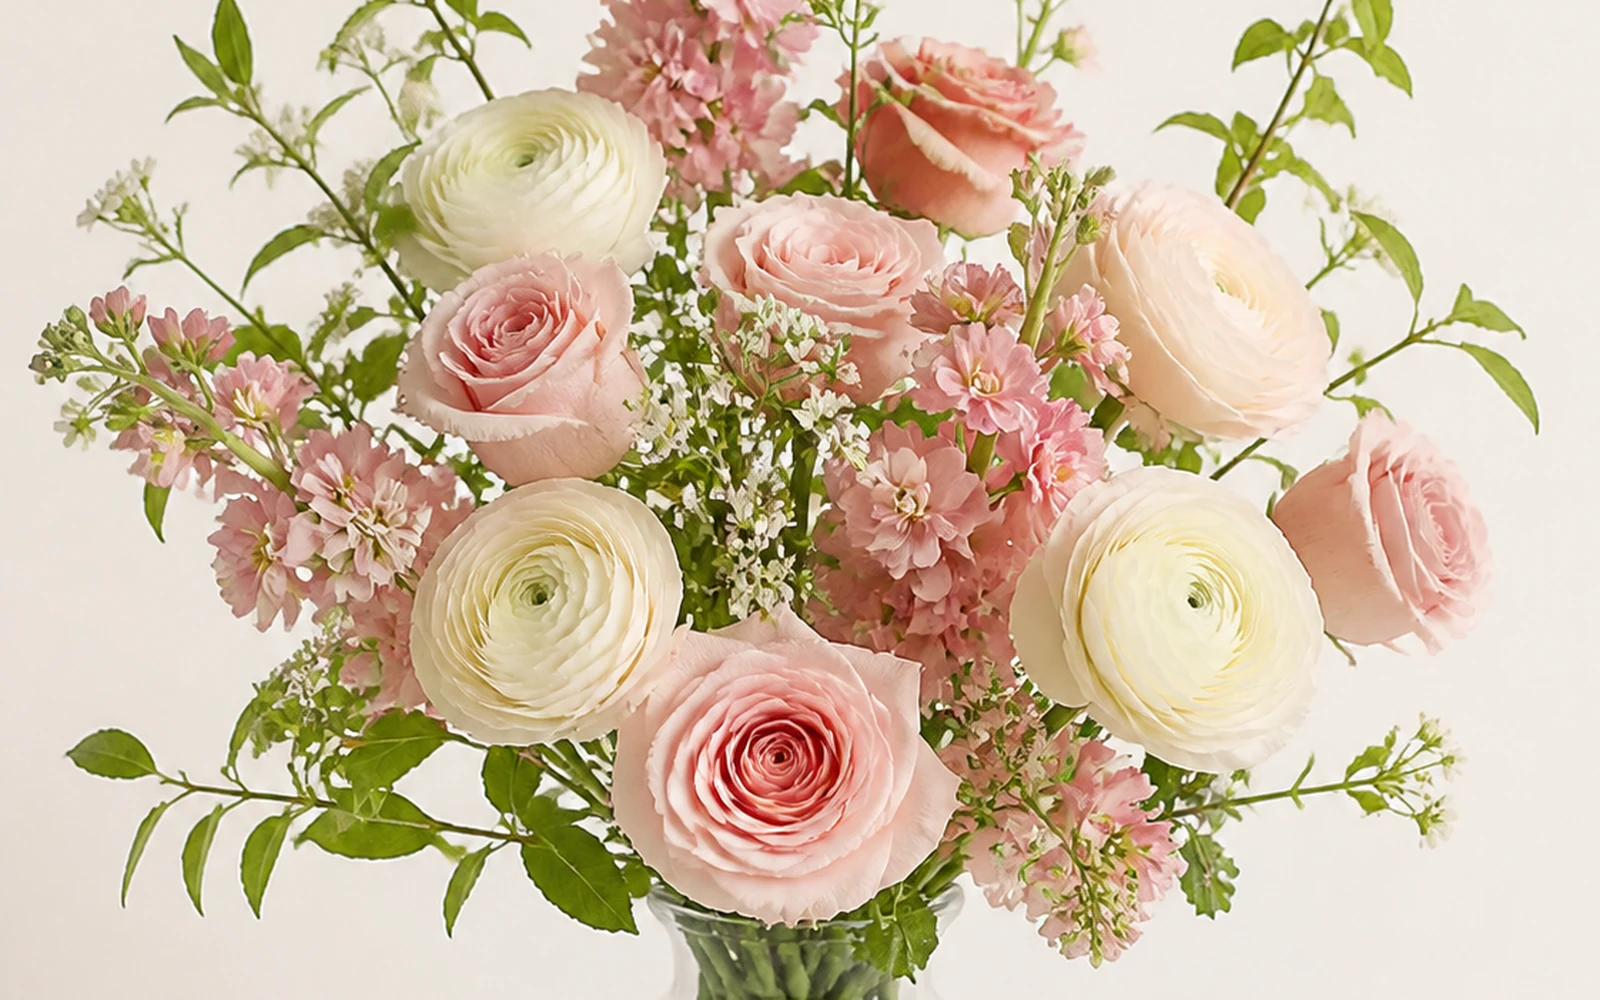
Set the snips down and rotate the vase slowly. Look at the silhouette before looking at individual blooms. Check the intended front, both sides, and the back—or complete the full circle for an all-around design.
Correct what you can see:
- One side feels heavy: shift a focal flower inward or extend a lighter line on the quieter side.
- The center looks packed: remove one supporting stem or lower it to open depth.
- The flowers hover above the vase: bring one or two blooms lower to connect the flower mass to the rim.
- Everything sits at one height: shorten a supporting flower and raise a line stem.
- A stem crosses awkwardly at the front: turn it, move it deeper, or remove it.
- The mechanics look exposed: redirect existing foliage before adding more material.
Finally, check the waterline, wipe the vessel, clear fallen leaves from the surface, and carry the arrangement with both hands when the vase is heavy or slippery. Place it away from a crowded edge and view it from the position where it will actually be enjoyed.
Balance can be asymmetrical. The height, width, color, focal area, and empty space simply need to feel settled together. When one flower keeps pulling your eye away from the whole design, move that flower rather than rebuilding everything.
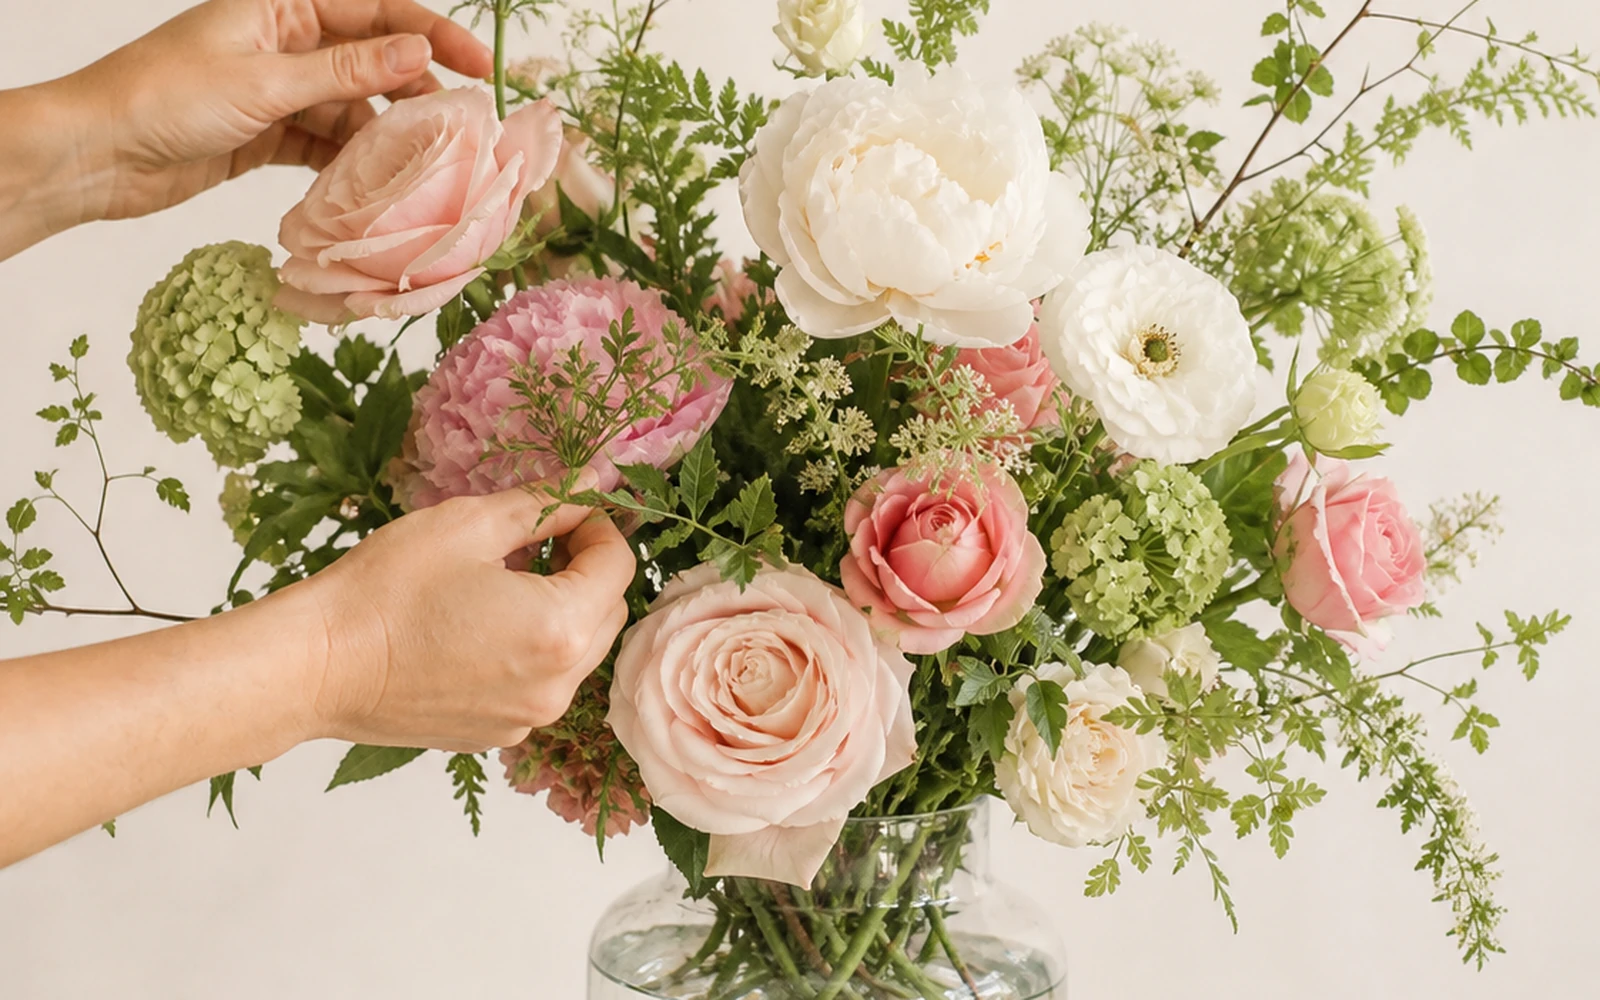
The arrangement is finished when every visible stem has a reason to stay.